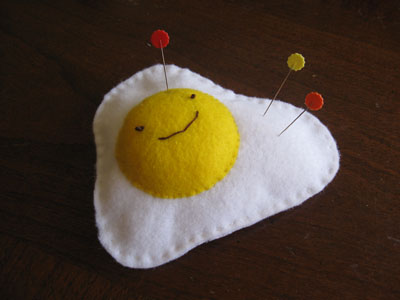
This here is a quick and easy project that uses up felt scraps. These pincushions make great little last-minute gifts — nothing says “you’re a good egg” like an egg-shaped pincushion. Here we go . . .
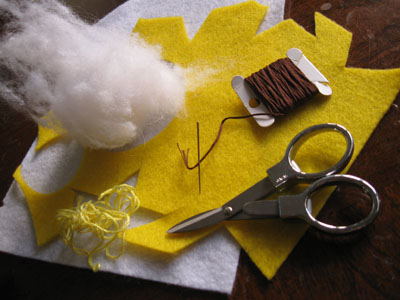
Materials:
- scraps of white and yellow felt
- embroidery thread: yellow, white, and face color
- stuffing
- needle
- scissors
- pins
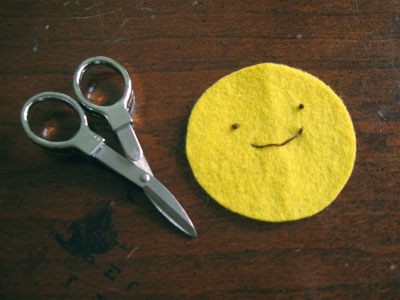
First, cut a circle out of your yellow felt. Make it any size you’d like (this is a very free-form project), but keep in mind that the circumference will shrink a bit when there’s stuffing under the circle. Using the color of your choosing, sew a face on your egg (happy, sad, surprised, indifferent). By the way, I used four strands of floss for all sewing parts in this tute. You could sew little buttons for eyes (or better yet, use google eyes — dang, why didn’t I think of that before), or you can just make french knots as I did.

Cut an eggy-shaped piece from your white felt, making sure to get it bigger than your yolk face. Again, free-form.
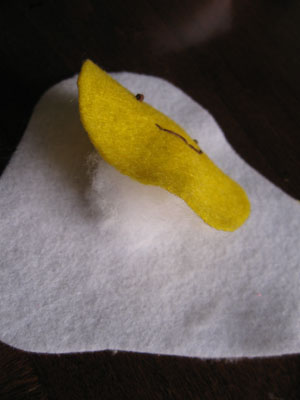
Start to connect the yolk to the white part with a few whip stitches. Then shove some stuffing under the yolk. The reason for doing this now is so you don’t sew the yolk on too tight, which wouldn’t allow you to really stuff it full. You will add a bit more stuffing later, but for now just put as much under there as you can.
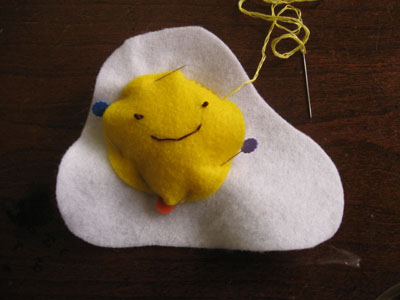
If you want, stick some pins in. I felt that the pins made it easier to sew. Continue to whip stitch around (keep your stitches pretty close together).
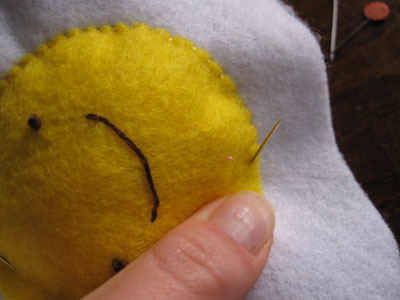
Keep whip stitching, removing the pins as you go, and try to stretch/squish the edges of the yolk with your thumb as you sew. This keeps everything circular and nice.
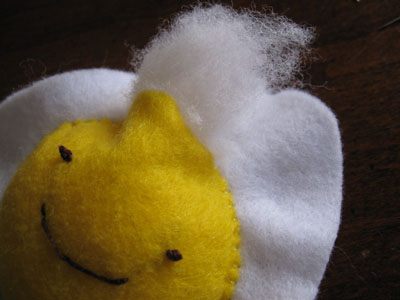
Wait! Stop! Don’t sew all the way around. When you’re almost to the end, shove some more stuffing under the yolk. I put in quite a bit, but stuff at your discretion. Once you are satisfied with the bulk of your yolk, finish sewing the yolk onto the white and knot/cut your thread at the back. At this point, squish the yolk around to even out the stuffing and make it all look nice.
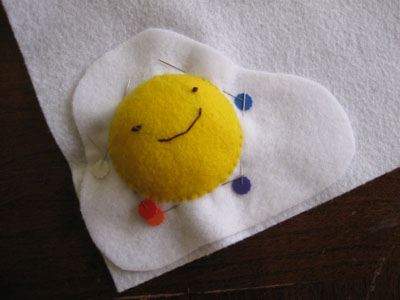
Now, pin your half finished egg to another piece of white felt. Why not cut two whites from the get-go? Because this way, you don’t have to worry about tracing and lining up. This is just easier. Make sure you pin as close to the yolk as possible so that the white is as flat as it can get.
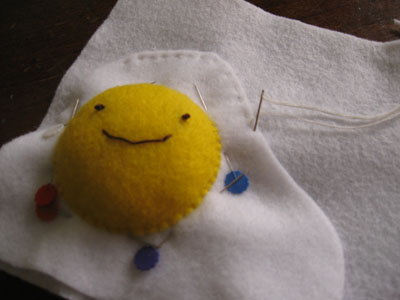
Grab your white thread and sew around the perimeter of the white part with a running stitch. You can probably do this on a sewing machine, too.
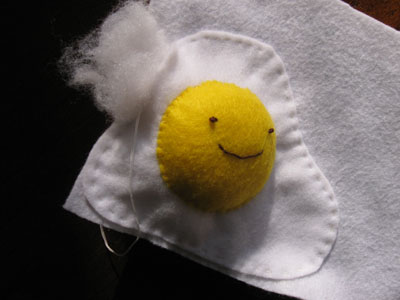
Again, when you’re almost at the end, stuff your egg. I didn’t put very much in the white part because I wanted it to be pretty flat. Sew to the end and knot your thread on the bottom of the egg, but don’t cut the thread yet.
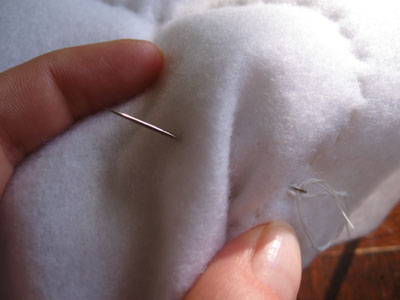
Squish your egg and shove the needle through it.
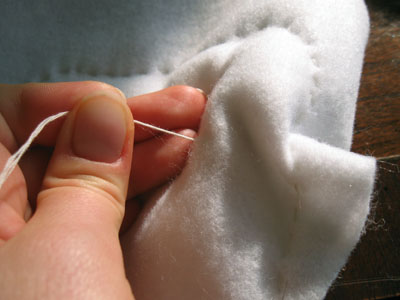
Hold the thread. Now you can cut it. This hides the thread end.

Trim out your egg. Again, massage the stuffing around until it’s even and your egg is the shape that you want. That’s it! I hope this tutorial isn’t too wordy and picturey — N said I went overboard for something so simple as this. What the heck — hope you like it!
ليست هناك تعليقات:
إرسال تعليق